Recover the lost/deleted iPhone data including photos, contacts, videos, files, call log and more data from your SD card or device.
How to Recover Deleted or Lost Sony Xperia Images
 Updated by Boey Wong / March 19, 2021 09:20
I have taken hundreds of photos with my Sony Xperia as it's a very excellent device for photography. I saw my little girl was playing with my smart phone as I did not set up a screen-locked password. Sadly I found out that a lot of photos and images that stored on my phone were deleted without notice. Those lost images I treasure so much that I can't lose them. please help me get them back. Many thanks!"
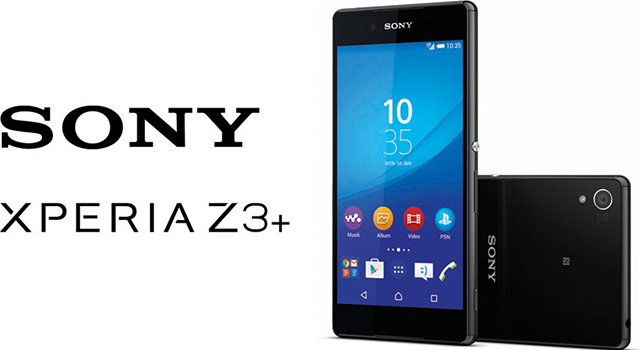
As a matter of fact, there are many reasons why the photos or images get lost so most of the smart phone users can't avoid to encounter data loss. The most common reasons for the photos lost are:
- Deleted by mistake.
- The USB disconnected accidentally when you are transfering data from your Sony Xperia to the computer.
- The phone suddenly turn off for very low Sony Xperia battery when you are using it. This may cause data loss, too.
- Virus attacking. If your computer is infected by virus, and your phone may get infected as well when connecting to it.
- System crashed, factory resetting, rooting, water damaged, screen broken and so on.
In spite of these various factors can lead to data loss, you don't need to live in panic. Because there is a professional Sony recovery software which is able to retrieve lost files from Android smart phones and tablets. FoneLab Android Data Recovery is the finest choice. It can recover all file types including images, contacts, call logs, messages, documents, etc.
With FoneLab for Android, you will recover the lost/deleted iPhone data including photos, contacts, videos, files, call log and more data from your SD card or device.
- Recover photos, videos, contacts, WhatsApp, and more data with ease.
- Preview data before recovery.
- Android phone and SD card data are available.
How to Retrieve Deleted Photos with FoneLab Android Data Recovery
First of all, and most importantly, do not use your Sony Xperia once you losing data in order to avoid overwriting. Then download and install the software on your computer.
Step 1The program will automatically open after installed successfully. Connect your phone with the computer.
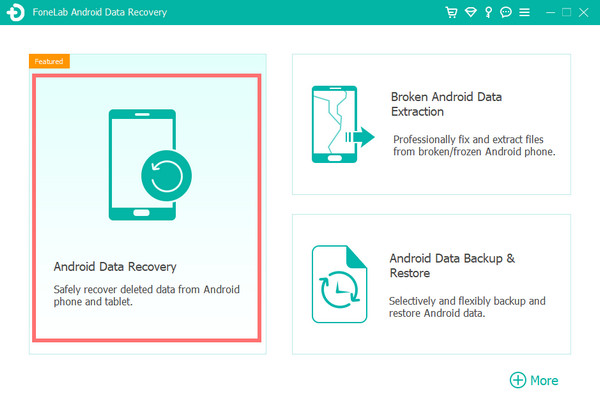
Step 2 Enable the USB debugging mode on your phone. If you have done it before, then just tap Ok when it asks on the phone screen so that the program can detect your device. Or you can follow below simple steps to open it.
For Android 2.3 or earlier: Go to Settings – Development – USB Debugging.
For Android 3.0 – 4.1: Navigate to Settings – Developer Options – USB Debugging.
For Android 4.2 or later: Tap Settings – About Phone. Then tab Build number for 7 times until the messages "You are under developer mode" appears. Then go back to Settings – Developer Options – USB Debugging.
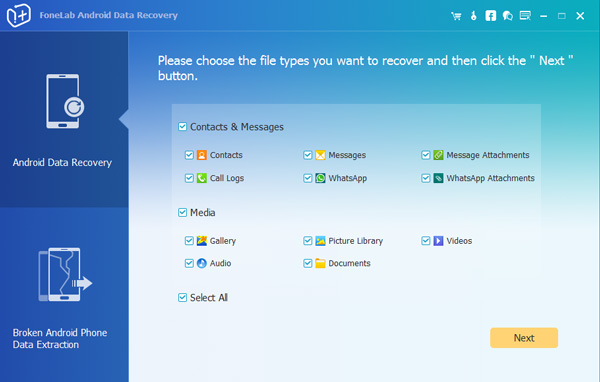
Step 3 Then you will have various different file types to chose to scan. Select Gallery and Picture Library and click Next.
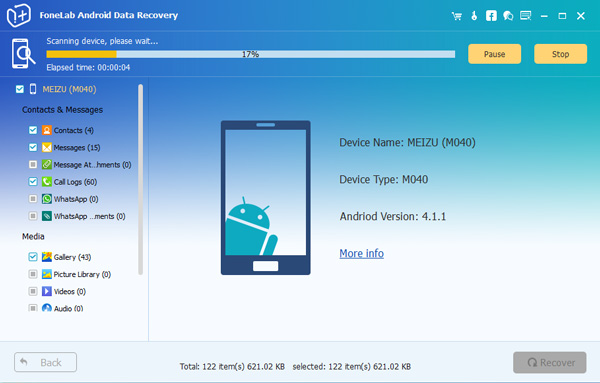
Step 4 This step requires your phone to be rooted. If not, the program will automatically install one assistant app to help you root your phone. Then tap Allow/Grant/Authorize when the permission request shows up on the screen. Click Retry when no response.
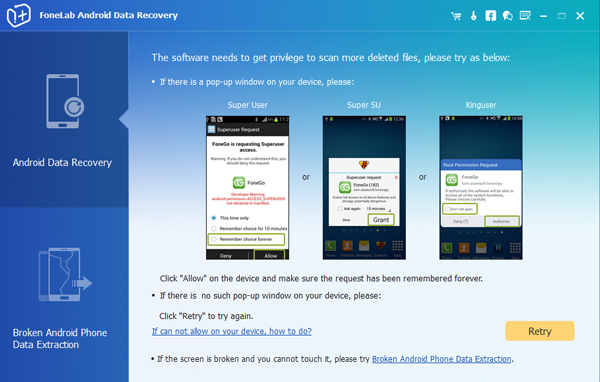
Step 5 Now you can preview and recover the deleted or lost images. Click the recoverable pictures and and click Recover to save them to the computer.
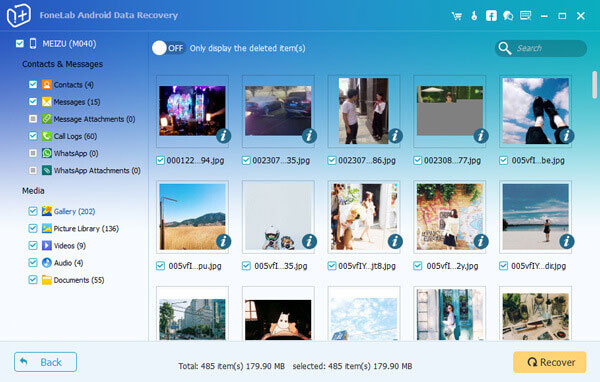
And it can be a Moto X photo recovery to restore Android photos.
Good job. You must have retrieved your photos by now. For your information, Another useful feature of this Android photo recovery software is that you can back up your phone data with it. Always a good idea to have backups, isn't it?
