iPhone Photography Tips - How to Take Good Pictures with iPhone
 Posted by Lisa Ou / March 08, 2021 09:00
 Take a photo with iPhone is the top option for iPhone user no matter when and where they want to record an impress moment.
So how can you take better photos with iPhone?
Here are some iPhone taking photo tips.
Tips for taking good photos with iPhone
1. iPhone Camera Shortcut
Time doesn’t wait for everyone, so some special moment might can’t be caught as you are not quick enough to open some third-party photography apps on iPhone, which you used to take photos all the time.
You should have learned more about iPhone default camera, which is a convenient and way to capture the precious moment for your friends, family, classmates and more.
It is obvious that nothing can be performed again if you missed, so you can learn how to use iPhone camera shortcut to record what you want.
Option 1
iPhone has a feature allows you to access the camera with one action without unlocking the screen.
Step 1 Wake up iPhone screen.
Step 2 Wipe the screen from right to left.
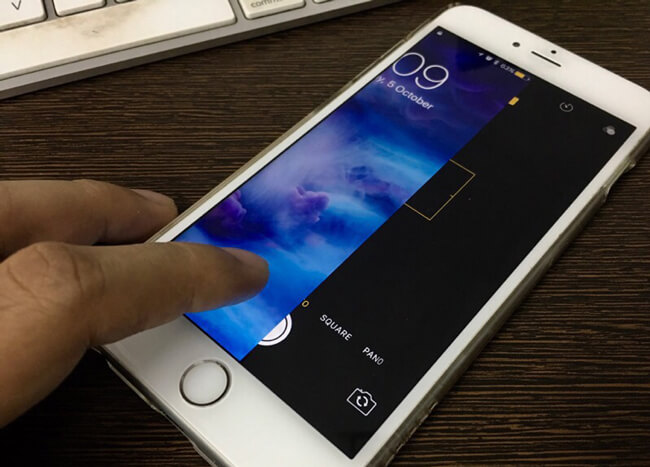
Then you can see the camera interface and use the iPhone camera to take photos as you like.
Option 2
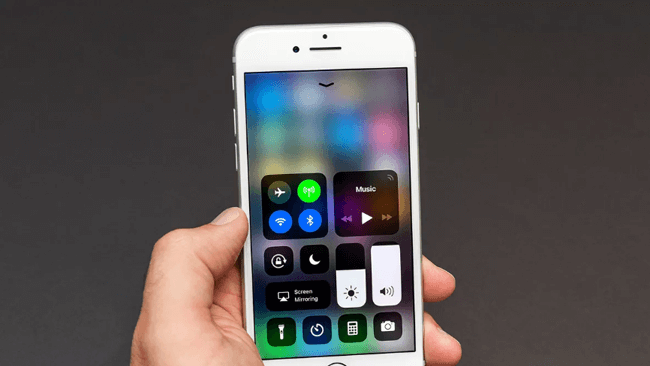
As you might know, iPhone enables you to set shortcut to make your user experience better.
Therefore, you can easily set the camera shortcut on Settings, and then you can get it quickly.
Step 1 Open Settings on iPhone screen.
Step 2 Go to Control Center > Customize Controls.
Step 3 Add Camera to appear in Control Center.
Step 4 Wipe the screen from bottom to top.
Step 5Tap to access the camera.
2. Set a Timer
Sometimes, you might need more time for preparation. iPhone has a feature to help you do this perfectly.
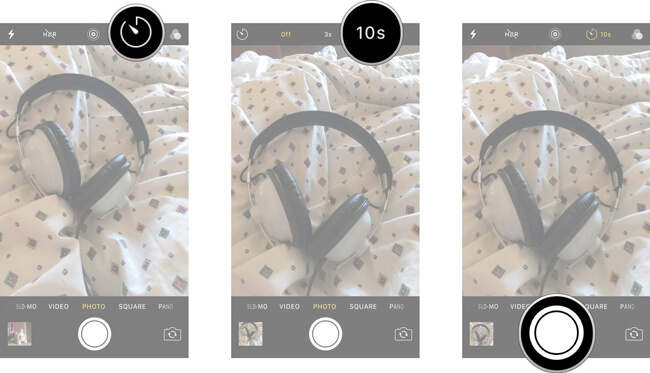
It provides three options, including Off, 3 seconds and 10 seconds. Its default setting is to disable iPhone camera time delay function.
You can simply tap the time button on the top of the camera, and then choose one according to your needs.
3. Use Volume Buttons
If you have used digital camera, you should know it is common to take photos with its button by the side.
Well,
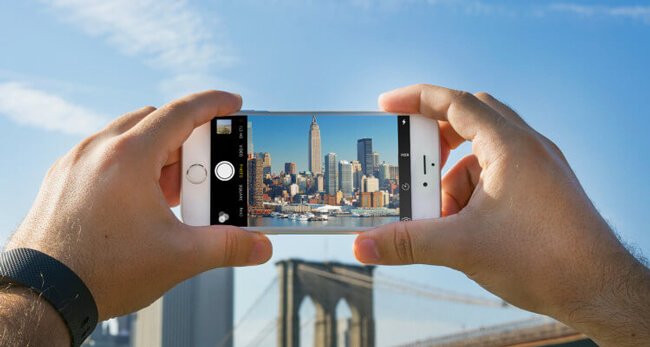
You can use take photos with shutter button in the screen. As well as hold the shutter button to use burst function on iPhone and then pick one you like most.
iPhone also has a button like this can be used to shoot pictures.
After you enter the camera app on iPhone, you can simply press the volume up or down button to finish the taking procedure.
It does is helpful when you want to take a photo with iPhone but unable to touch the screen.
4. Lock Focus
It is annoying that to get a blurred photo of the object, which you would like to capture in the photos. Then you might think that photo is really bad as you can get the effect you want.
It is time to dive into how to lock focus on iPhone camera app.
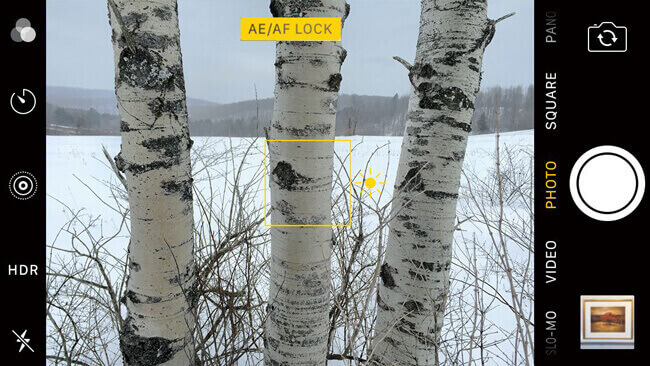
Step 1 Launch Camera app on iPhone.
Step 2 Keep the camera focused on what you want to capture.
Step 3 Tap the screen to lock focus.
Step 4 Tap the shutter button to take photos.
5. Adjust Exposure
After focus, we should have a small talk about exposure for iPhone photos.
Suitable exposure is one of necessary facts to influent a photo was taken with both camera and smartphone.
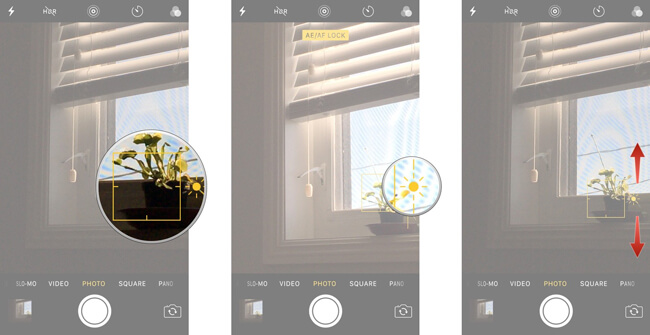
You might worry about the exposure if you are going to visiting somewhere and want to take many photos during the trip.
One of the signature features of smartphone is to allow users to adjust photo exposure.
Below is how to adjust the exposure in iPhone camera app.
Step 1 Lock focus through Camera > tap screen as above-mentioned way.
Step 2 Then you see the yellow square box in the screen, as well as an exposure icon on the right side.
Step 3 Slide up or down on the screen to adjust the exposure.
Step 4 Shoot the photos.
6. Take Portrait Pictures
As you know, dual-lens camera comes with iPhone 7 Plus, iPhone 8 Plus and iPhone X, it means that you can use iPhone portrait mode to create a depth-of-field effect, and you can easily keep your subject sharp with a beautiful blurred background.
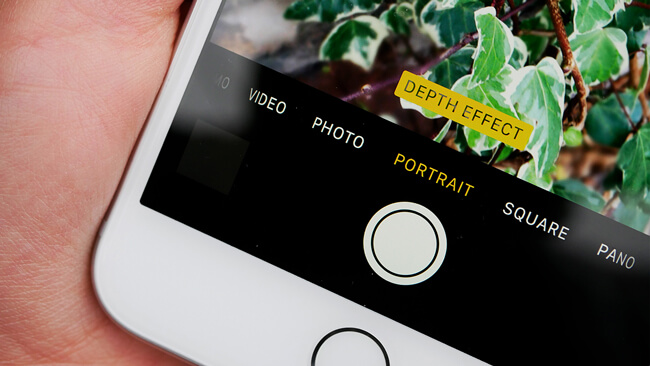
Step 1 Open the Camera app on iPhone.
Step 2 Choose Portrait mode from the options on the bottom.
Step 3 Tap the yellow portrait box and choose lighting effect. If you are an iPhone X user, you can also switch the camera to take a portrait selfie.
Step 4 Tap the shutter button.
7. iPhone Photography Apps
Each coin has two sides, some iPhone users don’t like its camera although others think that it is the best one in the smartphones.
There are different kinds of iPhone camera apps in the App store, users can choose from tons of options depends on their requirements.
App companies have considered the needs of users and published apps specialized in selfie, landscape, portrait and more.
I am sure that one of them can meet your satisfication.
8. Follow the Rule of Thirds
People have created a simple rule you can understand and follow to create a suitable view for a photo. Then creators applied it in iPhone camera app.
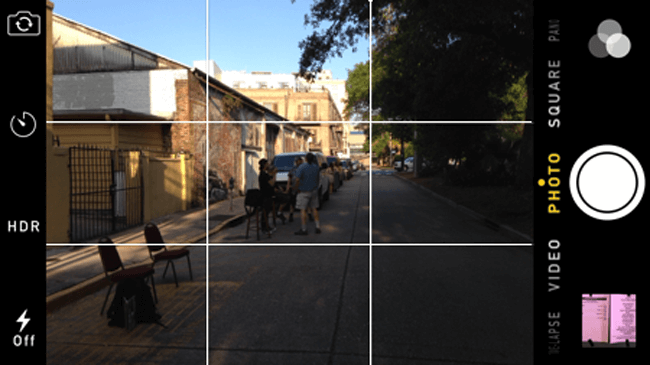
From then on,
People who have a smartphone can take a nice photo even without professional photography knowledge.
So, how to enable iPhone camera grid line?
Step 1 Go to Settings > Camera.
Step 2 Switch to turn on Grid.
Step 3 Back to camera to take photo with camera grid.
9. Turn on HDR
HDR means High Dynamic Range, which you can use to blend the best part of three photos with different exposures and get a single photo with better color and detail.

Below is the instruction to enable HDR mode on your iPhone.
Step 1 Open Camera app.
Step 2 If you have enabled Auto HDR on iPhone camera settings, you won’t see the HDR option on the top of the interface. Otherwise, you should tap HDR in this step.
Step 3 Shoot a photo.
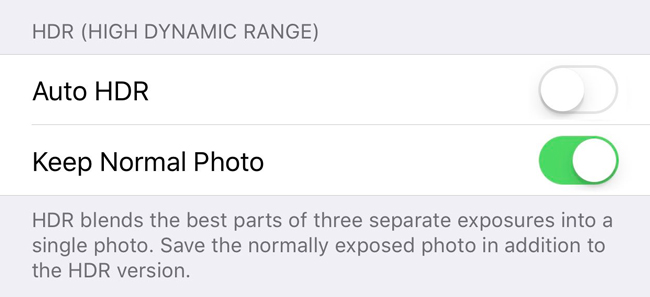
If you want to save space on your iPhone, you can go to Settings > Camera, and then enable Keep Normal Photo to keep the normal version only.
10. Take Live Photos
iPhone 6s, iPhone 6s Plus and their later generations allow users to take live photos.
What is live on iPhone camera?
A live photo records what happens 1.5 seconds before and after you tap the shutter button. As a result, you can get a moment captured with movement and sound more than a static photo.
You can follow the clear demonstration to take live photos on iPhone.

Step 1Preserve camera settings to keep live photo is always on through Settings > Camera > Preserve Settings.
Step 2 Open Camera app, tap on the Live icon to turn it on in yellow color.
Step 3 Aim at what you want to take a live photo and tap the shutter button.
11. Create iPhone Long Exposure Photography
After taking live photos for lights at night or naughty nephew in day, you can add long exposure effect to these photos and make them looks much cooler.
Below is how to take a simple action to do it.

Step 1 Open Photos app on iPhone.
Step 2 Select one live photo you like and tap it.
Step 3 Wipe the photo from bottom to top.
Step 4 Then you can see different effects, please choose Long Exposure.
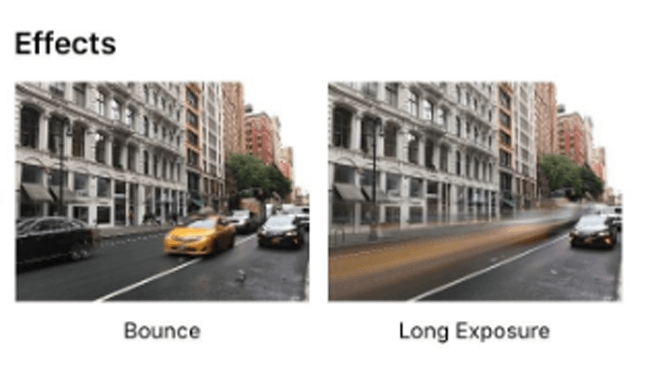
12. Take a Panorama
A panoramic photo is an image with an extremely wide-angle view. You can use it to take both horizontal and vertical panorama photos.
Usually, people would like to take generally wide and open spaces photos with it.

The secret to capturing a certain subject in a panorama photo is to put it at either the quarter or three-quarter points in it.
Well,
If your subject is your son, your wife or somebody else, you’d better place them close to the edges of the photo rather than in the middle of the image.
Step 1 Open Camera on iPhone and choose PANO mode.
Step 2 Aim at your subject, tap the shutter button and move stably.
Step 3 Tap the shutter button again to stop it whenever you want.
Sometimes, you might also want to capture something like a really big and tall tree or wire pole.
How to do is almost the same as taking a horizontal panorama photo, just choose PANO mode, and then hold on to shoot it.
Before move on the next topic, there is the last trick for panorama photo on iPhone, which you can use to make your subject to appear in multiple locations in the photo.

Step 1 Open Camera on iPhone and choose PANO mode.
Step 2 Ask the subject to pose in one location, then you can begin to take photo and stop.
Step 3 Let the subject leave the viewfinder and run around you to move to another location, then you can continue taking the photo.
Step 4 Repeat the above-mentioned steps until you get what you want.
13. How to Take Night Photos with iPhone
Taking photos at night is a difficult task for iPhone as you will get an almost dark image if you don’t use the flashlight. Actually, you can’t get a better photo using flashlight as you can’t control other factors.

Well,
We have some tips can help you get fantastic photos as you like.
Step 1 Open the Camera, aim at who you want to shoot.
Step 2 Turn off HDR and Live on the camera screen, enable Flashlight.
Step 3 Tap the effect icon on the top right corner, choose DRAMATIC.
Step 4 Tap the shutter button to take photos.
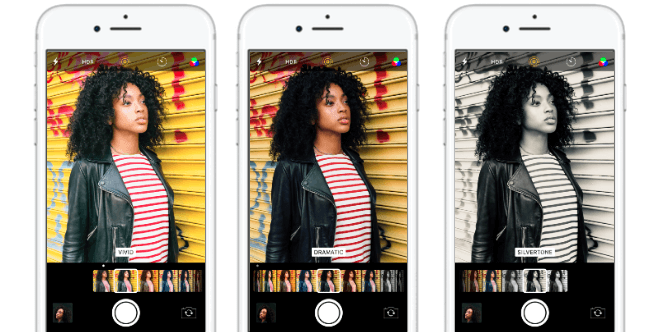
Please keep in mind that,
Don’t let the subject looks at the camera as it makes a red eye in the photo.
14. iPhone Selfie Tips
The selfie has become a common activity in daily life. In addition, how to take a good selfie is one of the most attractive topics for smartphone users.
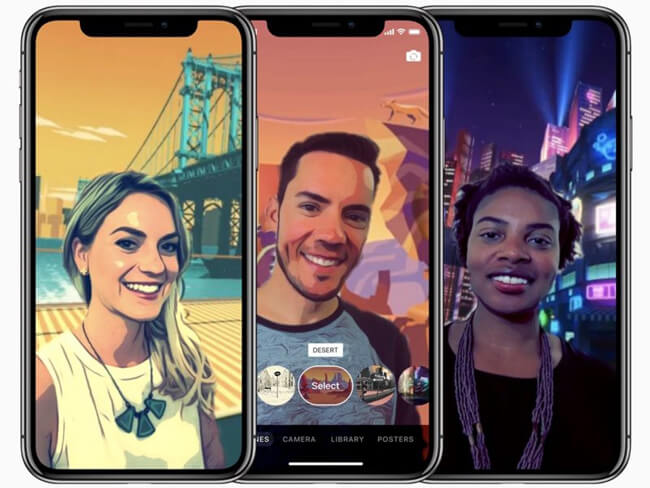
There are some rules you should know.
- You should know your angles to make your face looks super angular.
- Natural lighting gives you beautiful glow.
- Pick a filter and stick with it.
- Avoid Shadows.
- Take selfie in mirrors.
15. iPhone Selfie Tips
After people can use smartphones to take nice photos, they won't carry a heavy camera anymore. You can use some tricks when you are traveling with your friends or alone.
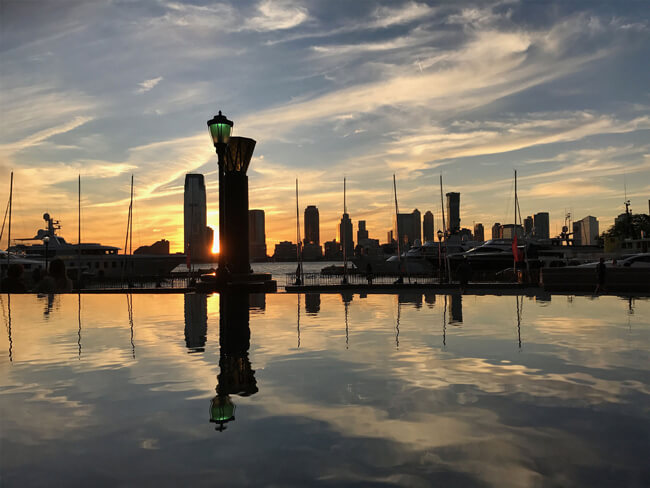
- Shoot from a low angle.
- Use the sunshine.
- Take many photos along the way if you are on a road trip.
- Shoot towards the light.
- Water is the best surface of reflection photography.
That’s all.
If you have more tips about how to take good photos with iPhone, please leave a common here.
By the way,
If you have trouble to recover deleted iPhone photos, you can easily use FoneLab iPhone Data Recovery to get lost pictures back. And it can also helps you restore iPhone WhatsApp and other data without hassle.
