How to Backup Photos on Android Using Hassle-Free Methods
 Updated by Boey Wong / Oct 14, 2022 10:30
Do you want to know how to backup photos on Android? It's quite easy if you ask. For many people, the camera is an essential app on a mobile phone. They treasure every photo on their devices like there isn't anything like it in this world. Is that an exaggeration? No. Because it is technically true. Do you know why?
Well, you use mobile phones to capture memories, special events, and even your everyday life. Every photo you take from your Android phone is unique. Other people may capture a scene at the same time as you, but it still doesn't take away your photo's uniqueness. The exact angle won't be the same. Similar to the time and nature. No one can capture a moment that produces the exact result as yours. That being the case, the photos you take on your phone are much more valuable than you think. Hence, you need to protect them.
In this article, we will help you secure the photos on your Android phone using the most reliable methods. Continue reading the solutions below, and decide which method is the best to keep your pictures safe from sudden data loss.


Guide List
Backup and restore Android data to your computer easily.
- Backup and restore Android data to your computer easily.
- Preview data in detail before you restore data from backups.
- Backup and restore Android phone and SD card data Selectively.
Part 1. Backup Android Photos with Google Drive
One of the most-used backup services in the world is Google Drive, which Google developed. It lets you sync your device data to your Google account, allowing you to access the files from any device. It’s a good service as you can manage your files using it. However, the free storage only offers until 15 GB. If you want to store data larger than that, you already need to pay depending on the amount of storage you will use.
Adhere to the instructions below to acquire skills on how to backup photos from Android phone to Google Drive:
Step 1Install the Google Drive app if it’s not on your Android phone yet. Following that, launch the app, then log in to a Google account where you want to store your backup files.
Step 2After logging in, you will see the three vertical lines symbol on the upper-left corner of Google Drive’s interface. Tapping it will give you more options for managing your drive.
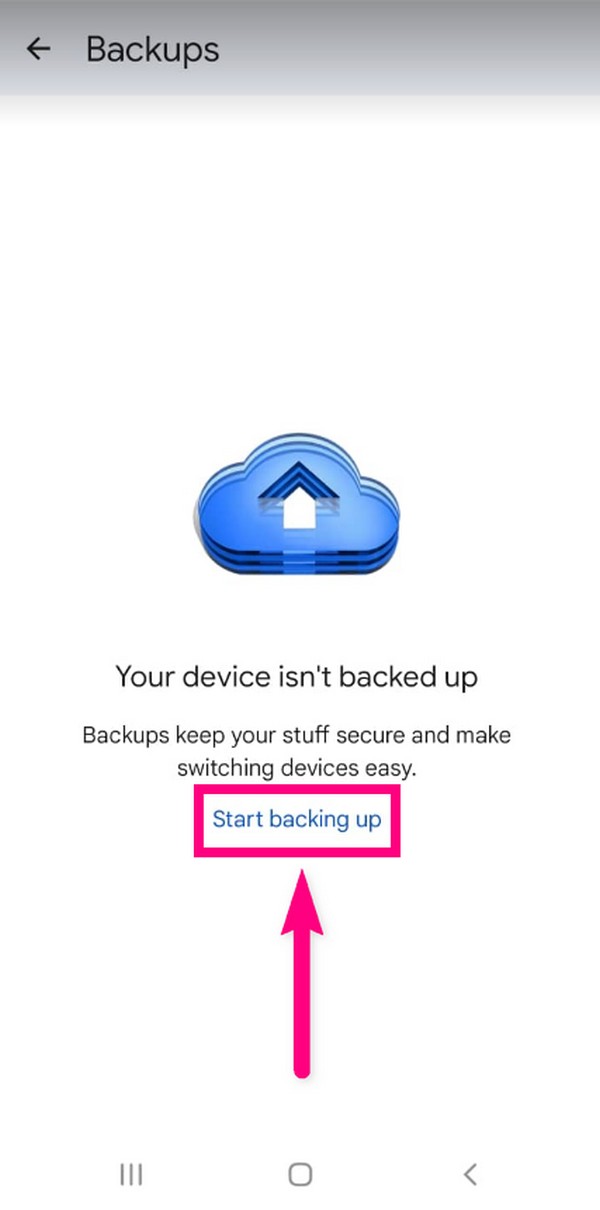
Step 3On the list of options, tap the Backups tab. It will let you manage the backup feature. Since you haven’t backed up anything yet, tap the Start backing up tab on the lower center of the app’s interface. Then follow further instructions to finish the backup process.
Part 2. Backup Android Photos with FoneLab Android Data Backup & Restore
If you want a safer and more secure backup tool, then FoneLab Android Data Backup & Restore is just what you need. This tool can back up and restore your photos professionally. It is available on both Windows and Mac. In addition, it can back up not only photos but several data types as well. This includes videos, audio, messages, contacts, documents, and almost everything you store on your Android phone.
Backup and restore Android data to your computer easily.
- Backup and restore Android data to your computer easily.
- Preview data in detail before you restore data from backups.
- Backup and restore Android phone and SD card data Selectively.
Adhere to the instructions below to acquire skills on how to backup photos on Android with FoneLab Android Data Backup & Restore:
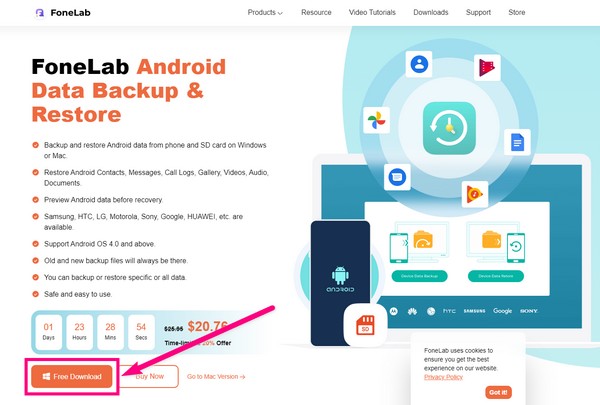
Step 1To start, access the FoneLab Android Data Backup & Restore website and download the software by clicking the Free Download button on the lower-left part of the page. Open the file, then permit it to make changes to your device. The installation process will start. Wait a few seconds to run the program on your computer.
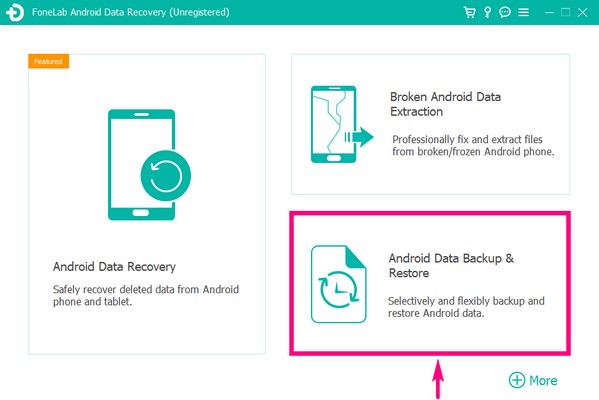
Step 2Pick the Android Data Backup & Restore feature from the software’s main interface options.
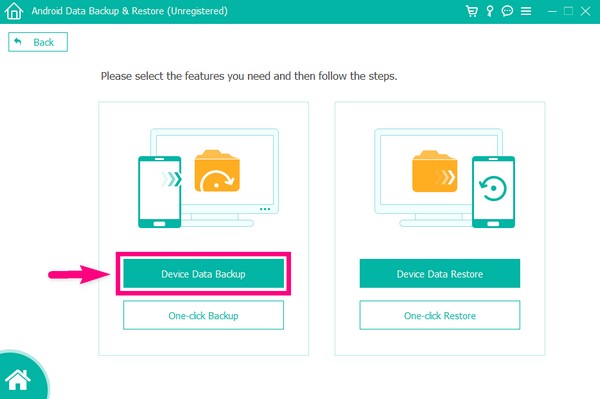
Step 3The backup features are on the left side of the Android Data Backup & Restore interface. The One-click Backup option is for backing up all the supported file types on your device in only one click. Since you only need to back up your photos, pick the Device Data Backup option.
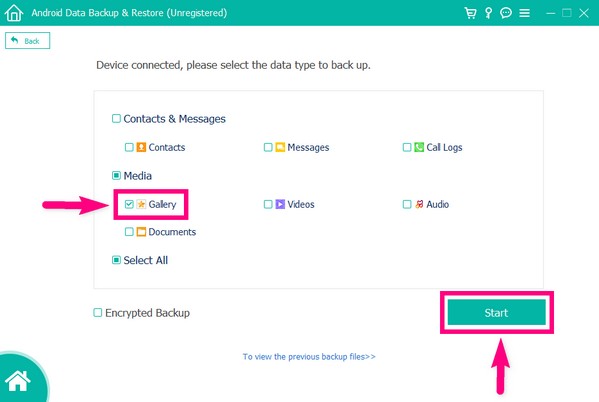
Step 4Attach your phone using a USB cord to the computer. Then tick the checkbox of Gallery on the file types interface as it contains the photos on your Android phone. Click the Start button afterward.
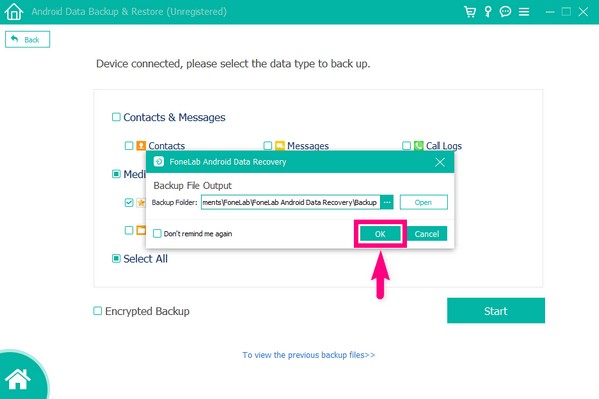
Step5Select or create a folder where you will keep your backup files. Lastly, click the OK button to back up the photos on your Android phone.
You can use it to backup data on Android now!
Backup and restore Android data to your computer easily.
- Backup and restore Android data to your computer easily.
- Preview data in detail before you restore data from backups.
- Backup and restore Android phone and SD card data Selectively.
Part 3. Backup Android Photos with Google Photos
Similar to Drive, Google Photos is also a storage management app developed by Google. The difference is that this app specializes in managing media files, specifically photos. In addition, this app has a Shared Library feature where you can grant a person you trust access to your photos. But the same with the Drive, Google Photos only has 15 GB of free storage.
Adhere to the instructions below to acquire skills on how to backup photos on Android with Google Photos:
Step 1Download the Google Photos app on your Android phone’s Play Store.
Step 2Find the Google Photos icon and open it to run on your device. Expect to see your files inside, as the app automatically loads your photos and videos once you launch it.
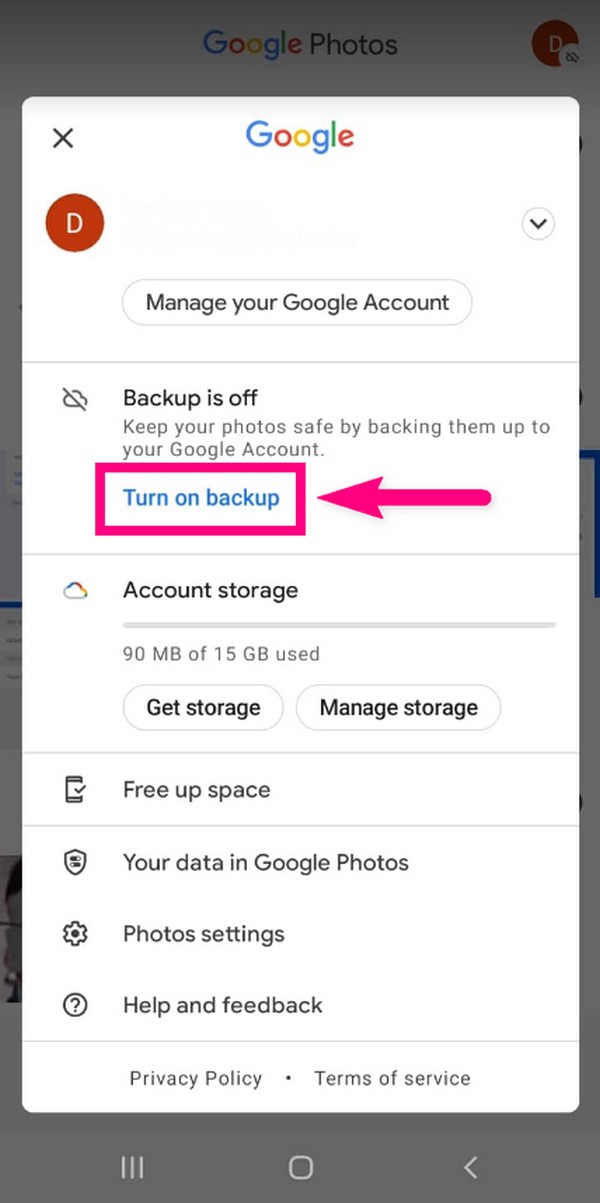
Step 3Tap your profile icon on the top-left corner of the Google Photos interface. Your account options will then pop up. Below your account profile, select the Turn on backup option, then tap Confirm on the next one to back up your photos.
Part 4. Backup Android Photos to Computer via USB Cable
If you don’t want to use an online service or a third-party tool, you can just back up your photos manually with a USB cable. It is mostly the first choice of Android users when it comes to copying or transferring files. But if you have a huge number of files to copy, it might take a long while.
Adhere to the instructions below to acquire skills on how to backup photos on Android via USB cable:
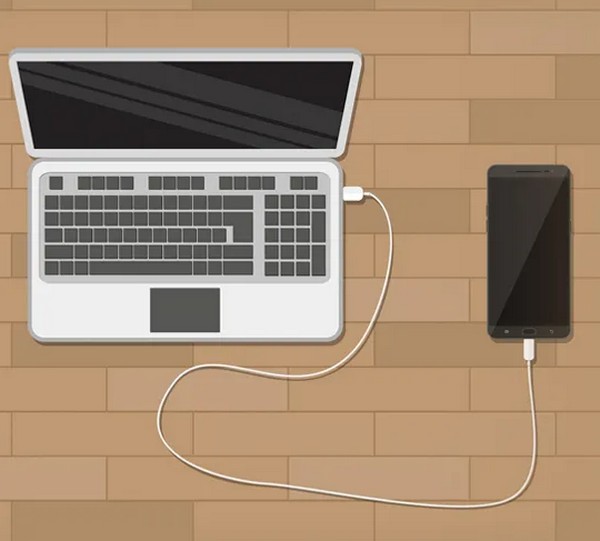
Step 1Link your Android phone with a USB cable to the computer, then check the USB options on your phone’s notifications. Make sure it is on the Transfer files options.
Step 2Your device data folder will then pop up on the computer. Open it to view your files. On the other hand, create or open another folder where you want to store your backup.
Step 3Back to your phone’s data folder, select the pictures you want to back up, then copy and paste them to the newly made folder on your computer.
Backup and restore Android data to your computer easily.
- Backup and restore Android data to your computer easily.
- Preview data in detail before you restore data from backups.
- Backup and restore Android phone and SD card data Selectively.
Part 5. FAQs about Backing Up Android Photos
1. Can you back up photos on Google Drive even without an internet connection?
No, you can't. You certainly need an internet connection to be able to upload photos or other files on Google Drive.
2. What is the advantage of Google Photos to Google Drive?
The compressing feature is a good feature Google Photos has that Google Drive doesn't. Google Photos offers to compress your files for free if you want to save more storage.
3. Is FoneLab Android Data Backup & Restore available on LG phones?
Yes, it is. FoneLab Android Data Backup & Restore is available on almost all Android devices, including LG, Samsung, Motorola, HUAWEI, Sony, and more.
Backup and restore Android data to your computer easily.
- Backup and restore Android data to your computer easily.
- Preview data in detail before you restore data from backups.
- Backup and restore Android phone and SD card data Selectively.
Among all the backup tools mentioned above, we highly recommend using the FoneLab Android Data Backup & Restore software. It is perfect for beginners for its easy-on-the-eyes interface, and the features are provenly effective.
