- Convert AVCHD to MP4
- Convert MP4 to WAV
- Convert MP4 to WebM
- Convert MPG to MP4
- Convert SWF to MP4
- Convert MP4 to OGG
- Convert VOB to MP4
- Convert M3U8 to MP4
- Convert MP4 to MPEG
- Embed Subtitles into MP4
- MP4 Splitters
- Remove Audio from MP4
- Convert 3GP Videos to MP4
- Edit MP4 Files
- Convert AVI to MP4
- Convert MOD to MP4
- Convert MP4 to MKV
- Convert WMA to MP4
- Convert MP4 to WMV
The Exceptional GoToMeeting Screen Recorder Tools You Should Not Miss
 Updated by Lisa Ou / Jan 10, 2023 16:30
There are many ways to create a meeting for your work. It can be in person or online. Most people carry out meeting sessions online. They prefer this setup if there are rush tasks or urgent situations. You can use GoToMeeting to have the best experience in your online meeting. What if the discussion is fast and you cannot follow properly? The best way to this problem is to record the meeting session. You can record GoToMeeting using its built-in feature and other software. Luckily, this article will guide you on how to use excellent software and its alternative for recording GoToMeeting.


Guide List
Part 1. How to Record GoToMeeting with FoneLab Screen Recorder
When recording online meetings, you need to have a high-quality recorder. You will need it if the discussion includes a written presentation. FoneLab Screen Recorder is the software that you can use. When the tool is recording the online meeting, it will not change the quality of your screen. Another good thing about this software, you can take a screenshot while recording. It will not interrupt the process once you perform it. You can also set hotkeys to start, stop or open to start or stop the tool. Learn more on how to record GoToMeeting by scrolling down below.
FoneLab Screen Recorder allows you to capture video, audio, online tutorial, etc on Windows/Mac, and you can easily customize size, edit the video or audio, and more.
- Record video, audio, webcam and take screenshots on Windows/Mac.
- Preview data before saving.
- It is safe and easy to use.
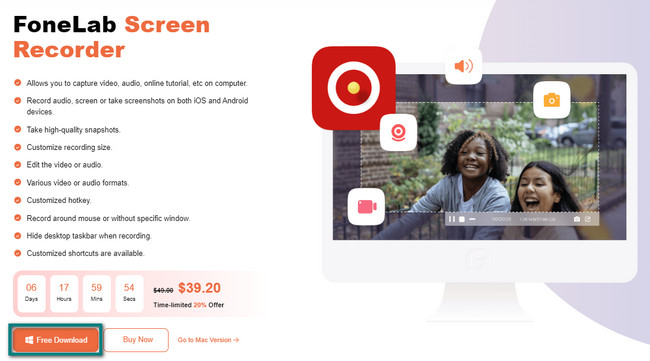
Step 1Download the tool by clicking the Free Download button on the left side of the main interface. Wait for a few seconds for the software to finish downloading. After that, the tool will require you to set it up on your computer. Install it immediately. Launch > Run it on your computer.
Step 2The tool will show you its features in a recording. You must select the Video Recording mode because it is an efficient recording tool for capturing meetings on GoToMeeting. Aside from that, if you want to see the history of your records, click the Recording History. It is located in the lower left corner of it.

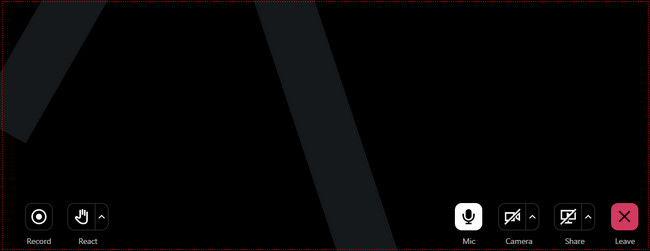
Step 3You must click the Custom button on the left side of the software. In this case, you can use the Adjustable Frame to trace the part of the screen you want to record. Since you are capturing online meeting discussions, it is advisable to turn on the Microphone. For this reason, you will also record the voice of the host. Launch the GoToMeeting and click the REC button to start the recording.

Step 4While the recording is in progress, you will see the Adjustable Frame you traced a while ago. It will only vanish if the recording has ended. You can pause the recording session if you want by clicking its button. On the middle part of the tool, click the Red Box button to stop the recording for your GoToMeeting.
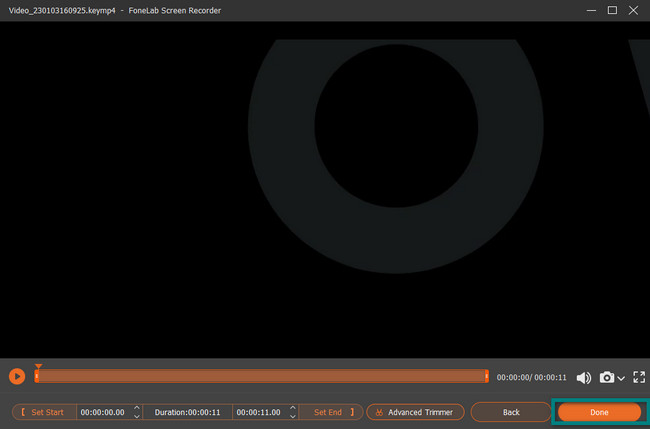
Step 5The software will pop up the video on your screen. If you want, it will allow you to edit the video before saving it on your computer. Click the Done button once you keep the video on your device. You only need to locate the album on your computer once you want to see your GoToMeeting video.
The software above is excellent among the rest of the screen recorders. It has all the features that you would want on a tool. However, there are other screen recorders for the GoToMeeting record. They are complicated to use compared to FoneLab Screen Recorder. If you still want to discover them, move on.
FoneLab Screen Recorder allows you to capture video, audio, online tutorial, etc on Windows/Mac, and you can easily customize size, edit the video or audio, and more.
- Record video, audio, webcam and take screenshots on Windows/Mac.
- Preview data before saving.
- It is safe and easy to use.
Part 2. How to Record GoToMeeting with Built-In Tool
The good thing about GoToMeeting, it has a built-in tool that you can use to record it. However, it is tricky to use it. You will have difficulties and confusion if it is your first time using the tool. Unlike the software above, it has an accessible interface and user-friendly tools. You must be careful to use the built-in tool to avoid any errors in the process. Despite that, once you record the meeting sessions, the question is: where does GoToMeeting save recordings? You can find them on your device by locating File Explorer. To learn more about the built-in tool of GoToMeeting, move on to its detailed steps.
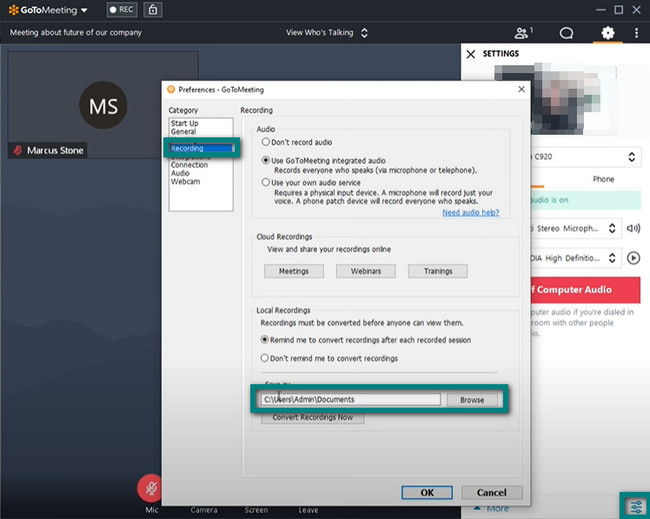
Step 1If you cannot access the meeting recording, click the Open Preference at the bottom right corner of the tool. It will show you the settings of the built-in tools of the GoToMeeting. You must click the Recording section on the left side of the main interface. After that, select the location of your video and click the OK button.
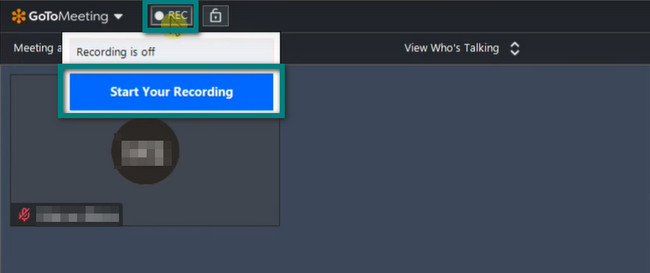
Step 2At the top of the built-in tool, click the REC button. It will show you a drop-down section that tells you that the recording is off. All you must do is click the Start Your Recording button. In this case, it will only record the GoToMeeting session, not the whole device screen, if it is minimized.
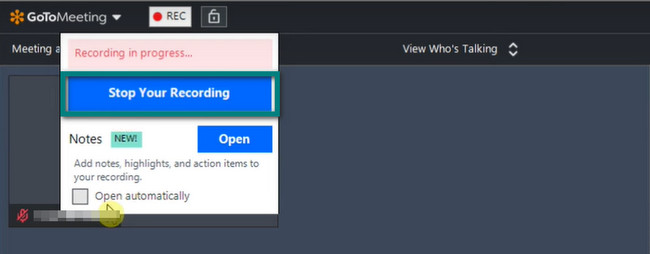
Step 3Once the meeting session is done, click the Stop the Recording button. After that, the tool will save the video on the folder you choose a while ago immediately.
Part 3. How to Record GoToMeeting via Movavi
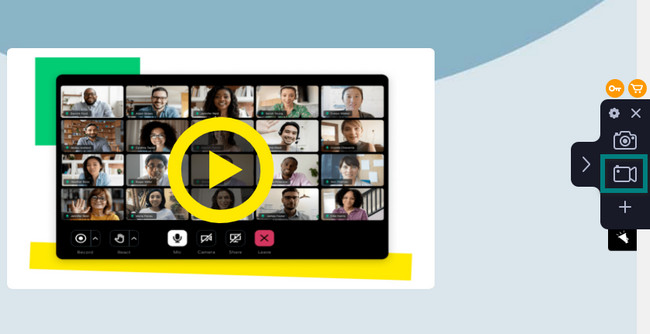
Movavi is one of the screen recorders that you will see online. You can use this tool to record your GoToMeeting because it supports the capture on your webcam. However, once you download and install the software, it will consume much of your time. If you are in an urgent situation, this software is not advisable. In addition, once you launch the tool, it will only appear on the right side of your screen. It is not noticeable, and its features have no labels. In this case, you will have confused about their functions. It can still help you with how to record a GoToMeeting. To guide you, please read the steps below carefully.
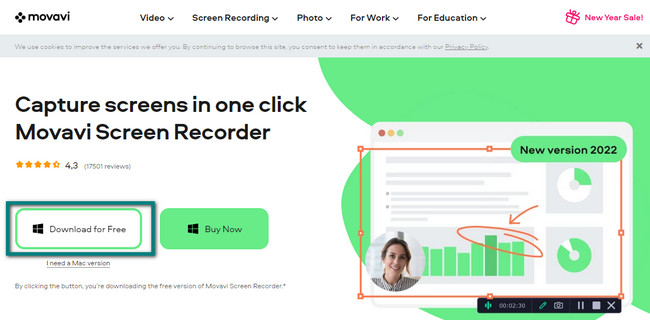
Step 1On the middle part of the main interface, click the Download for Free button to download the software. After that, set up, install, and run it on your device.
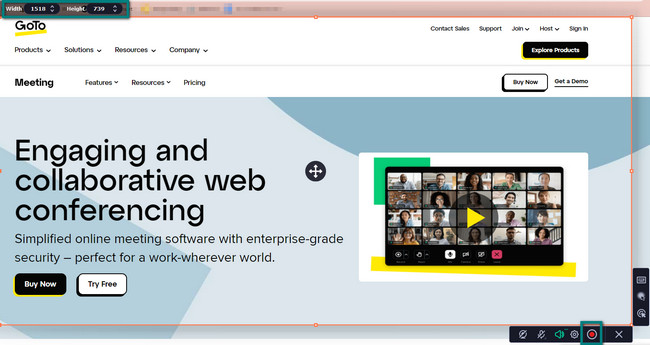
Step 2Launch the GoToMeeting you want to record. Afterward, click the Video Camera icon to start the recording. In this case, the tool will require you to trace the screen you want to record. Once you let go of the tracing, the recording will start instantly.
Step 3If you want to end the recording, click the Red Circle button. It is located below the tool. Later, the recording will end, and the software will not notify you where it saves the video. It would be best if you found it on the device albums.
FoneLab Screen Recorder allows you to capture video, audio, online tutorial, etc on Windows/Mac, and you can easily customize size, edit the video or audio, and more.
- Record video, audio, webcam and take screenshots on Windows/Mac.
- Preview data before saving.
- It is safe and easy to use.
Part 4. FAQs about GoToMeeting
Question 1. How to fix the problem when recording GoToMeeting with its built-in tool?
Go to the Settings of the tool. Select Privacy > Camera > Allow Apps to Access Camera > Allow Desktop Apps to Access Camera sections. After that, you only need to restart the GoToMeeting.
Question 2. What do I do if GoToMeeting won't open?
You can start to join meeting from the web application. You can also join the meeting from the mobile app, restart the download or restart your GoToMeeting.
There are many screen recorders, but FoneLab Screen Recorder is the best among them. If you want to use this excellent software, you can download it to your device. Later, you will surely enjoy its features.
FoneLab Screen Recorder allows you to capture video, audio, online tutorial, etc on Windows/Mac, and you can easily customize size, edit the video or audio, and more.
- Record video, audio, webcam and take screenshots on Windows/Mac.
- Preview data before saving.
- It is safe and easy to use.
