Ultimate Solutions for iMessages/Text Messages Out Of Order on iPhone
 Posted by Lisa Ou / March 16, 2021 09:00
 My messages on iPhone are out of order, is there any problem? Why are my text messages out of order? Please help, thanks.
Recently, many users report that the SMS or iMessage they received don’t show in correct order. Most of them have tried some common methods to fix this issue, but they might be not suitable for each user.
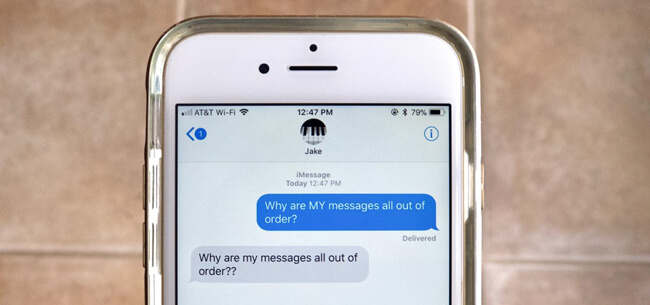
Here we will introduce different to solve the messages no longer sorting by most recent items for you, it is better you can try them patiently so that you can get the best one according to your needs.
Before we dive into how to do, you should pay attention that there are two parts. One is for iMessage only, another one is for both SMS and iMessage.
Let’s walk through how to fix iMessage out of order on iPhone.
1. Disable iMessage and Re-Enable It
You need to enable and activate the feature to allow the Messages app to send iMessage on iPhone, and then it can send when your device has been connected to stable internet connection.
And you can also learn how to fix iMessage activation error.
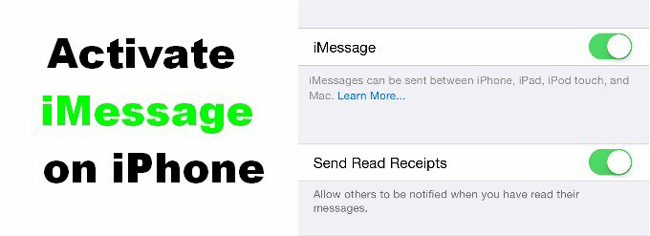
It should be the first way, which is jumping into your mind to fix this iMessage order problem as below.
Step 1Go to Settings app on iPhone home screen.
Step 2Scroll down to find Messages section.
Step 3Toggle iMessage off, and wait for a few minutes.
Step 4Turn if on again.
2. Check Network Connection on iPhone
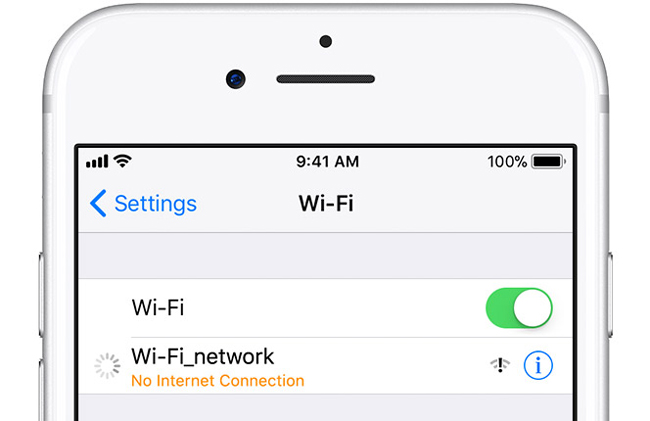
We have mentioned before, iMessage requires stable internet connection to send iMessages out. You should check if you have connected Wi-Fi or enabled Cellular data on iPhone properly.
Step 1Open Settings.
Step 2Tap on Wi-Fi or Cellular.
Step 3Check if the network connection is connected.
3. Reset iPhone Network Settings
If there is no problem for iPhone network connection, another issue for network is its settings. You can try to reset its iPhone network settings to see if this issue will be fixed.
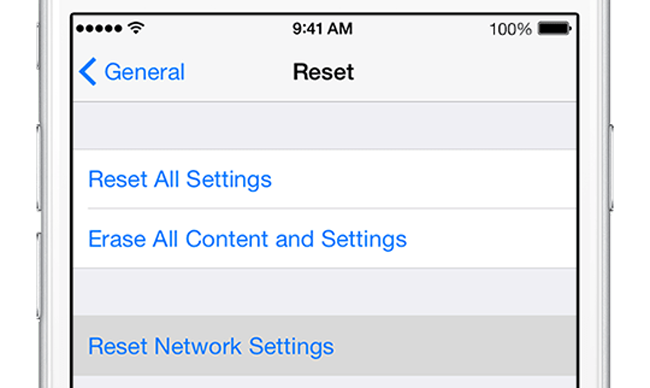
Step 1 Access Reset through Settings > General > Reset.
Step 2There are six options, you need to choose Reset Network Settings.
Step 3Enter passcode to confirm.
Above-mentioned 2 ways are specialized in trying to solve the problems for iMessages, there are also other solutions for SMS and iMessage on iPhone.
4. Restart iPhone
iPhone keeps running all the time is possible to make some iPhone text messages errors happens to the device. Soft-reset iPhone is an ultimate solution for most of the common problems on iPhone like this.
Well,
Below is a clear instruction.
Step 1Press and hold the power button until the slider appears.
Step 2Swift the slider to right to turn it off.
Step 3Wait for a few minutes, and then follow the same steps to turn if on reboot it.
5. Set Correct Date & Time
The Date & time on iPhone influents some of the settings, and it is possible to cause some mistakes occur when you are using the apps or other feature on iPhone.
If you want to get rid of it, you can try below demonstration to set correct date & time.
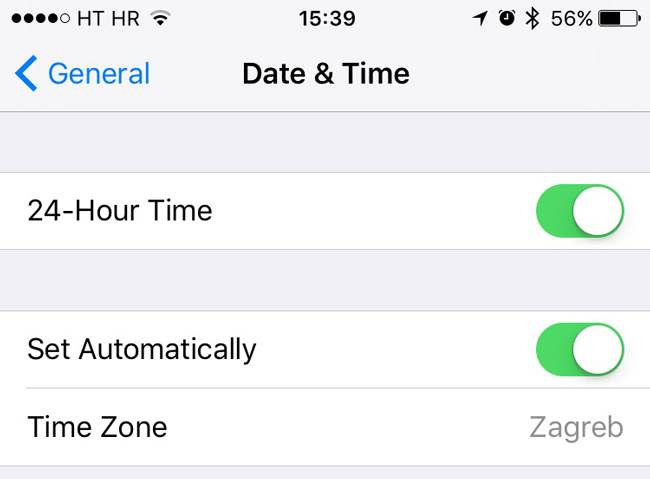
Step 1 On Settings section, tap General.
Step 2 Select Date & Time.
Step 3Tap the button next to Set Automatically. If you have turned it on already, toggle it off and then enable it again after a few minutes.
You can learn how to unlock disabled iPhone here.
6. Factory Reset iPhone
Sometimes, you might have tried many different methods to figure it out, but get nothing. You shouldn’t grow discouraged as you can still hard reset iPhone to make your device as a new device.
It is a method to fix the errors occur on your device, but also wipe all existing data.
Therefore,
You need to make iPhone backup for the data firstly, and then begin the resetting afterward.
Option 1. Resetting iPhone on device is most common and convenient option.
Step 1 Tap Settings > General > Reset.
Step 2If you have tried Reset iPhone Network before, you should know that there are 6 choices, and please tap Reset All Settings this time.
Step 3Enter your passcode to confirm you want to reset your iPhone.

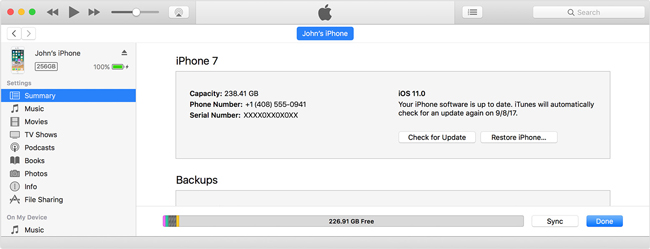
Option 2. If you are accustomed to using iTunes to managing iPhone data, below is how to use iTunes to factory reset iPhone.
Step 1 Please make sure that you are running the latest version of iTunes, and connect iPhone to this computer, which is running the iTunes.
Step 2Click device icon when the software detects your device, select Summary on the left panel.
Step 3Click Restore iPhone on the right side, which is under the iPhone section.
7. Use FoneLab iOS System Recovery
If it is unfortunate that nothing you have tried has worked, you will need a third-party iPhone system recovery tool, which is called FoneLab iPhone System Recovery to help.
You can use it to solve not only this problem, but also other situations. Such as iPhone keeps restarting, iPhone stuck on DFU mode, iPad can't slide to unlock…
It does easy to use, you can download and install it on your computer, and then check it out as below.
FoneLab enables you to fix iPhone/iPad/iPod from DFU mode, recovery mode, Apple logo, headphone mode, etc. to normal state without data loss.
- Fix disabled iOS system problems.
- Extract data from disabled iOS devices without data loss.
- It is safe and easy to use.
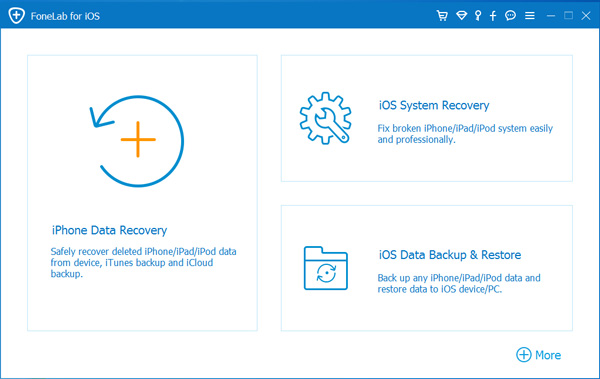
Step 1Select iOS System Recovery in the interface, and then connect device to computer.
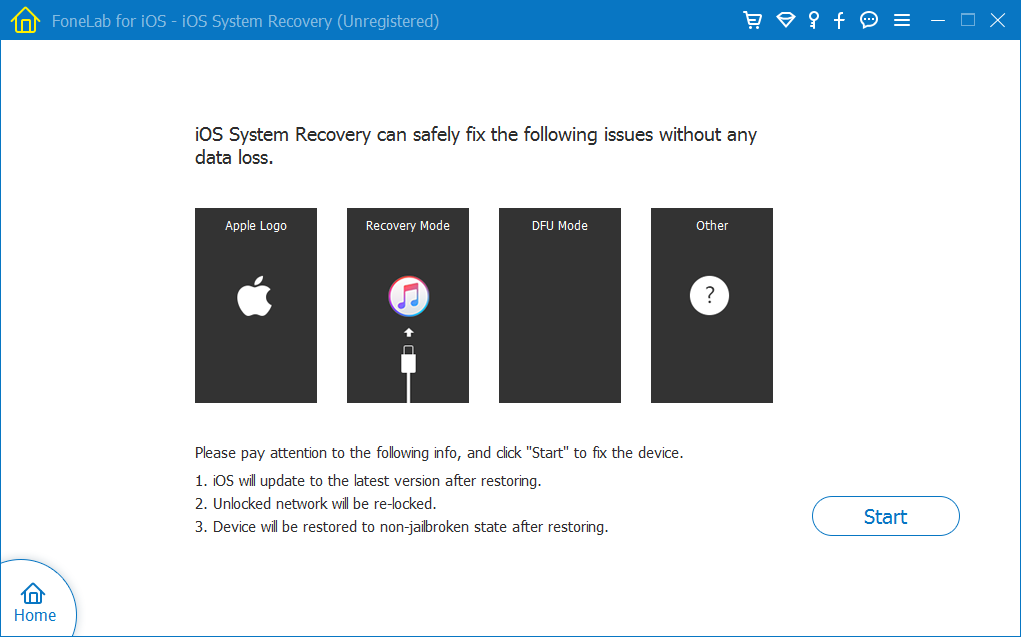
Step 2You should click Start when it detects the device.
Step 3It needs to download the correct firmware for your device, please choose the information from the drop-down options according to your device.
Step 4Click Repair.
That’s all.
You should find a specific way to solve problems as you might need different choice to fix the same issue on different devices. Choose one suitable solution and have a try now!
FoneLab enables you to fix iPhone/iPad/iPod from DFU mode, recovery mode, Apple logo, headphone mode, etc. to normal state without data loss.
- Fix disabled iOS system problems.
- Extract data from disabled iOS devices without data loss.
- It is safe and easy to use.
