Windows Game Bar - Great Features on Computer
 Posted by Lisa Ou / June 19, 2024 09:00
 Hi! I found the Game Bar on my computer after updating. But what is Game Bar and how do you use it? Thanks!
After updating Windows 10, it has a built-in feature called Game Bar. Some users might be unfamiliar with it. This article will explain what it can do for you and how to use Game Bar on your computer.

Besides, you will also get its alternatives to record your gameplay or others on a computer.

Guide List
Part 1. What is Game Bar
On Windows 10 and later versions, you can use the Game Bar to record screens or screenshots on the computer. You can also track and manage the FPS of your game and other real-time stats.
You are also allowed to adjust the mouse click-through and audio volume, check apps and processes using system resources, and more.
Windows Game Bar is mainly used to capture and record awesome comments on your computer effectively.
Part 2. How to Use Game Bar to Record Screen
It is easy to open Windows Game Bar, press the Windows logo key + G on your keyboard when you are playing games.

Then, you will see the menu. Click the circle icon to begin recording, or choose the camera-like icon to take a screenshot.
You can also use the Windows logo key + Alt + G to enable full-screen recording and use it for both starting or stopping game recording.
Where does Game Bar save? By default, you can open a folder and access Video > Captures.
What if you didn’t update your Windows or you don’t like the Windows Game Bar? Are there any alternatives to recording the screen on the computer? Move to the next part.
Part 3. Alternatives to Windows Game Bar
If you don’t like Game Bar on Windows but want to record screen activities, you can always find alternatives on the internet. After testing, we will introduce 2 of the most recommended tools you should not miss.
Option 1. FoneLab Screen Recorder
Compared to Windows Game Bar, FoneLab Screen Recorder is a third-party tool rather than a built-in feature from the official site. However, its powerful features and simple steps will satisfy you.
FoneLab Screen Recorder allows you to capture video, audio, online tutorial, etc on Windows/Mac, and you can easily customize size, edit the video or audio, and more.
- Record video, audio, webcam and take screenshots on Windows/Mac.
- Preview data before saving.
- It is safe and easy to use.
FoneLab Screen Recorder provides different recording modes. You can record the full screen, selected region, or window. Besides screen recording, you can also enable webcam, system sound, and microphone accordingly. You can simply click the Test button under the related options to adjust the settings to suit your needs.
You will have an Auto Stop feature that ends your recording based on your settings for recording length, file size, or ending time. Then, you won’t need to stop recording when you are doing something else.
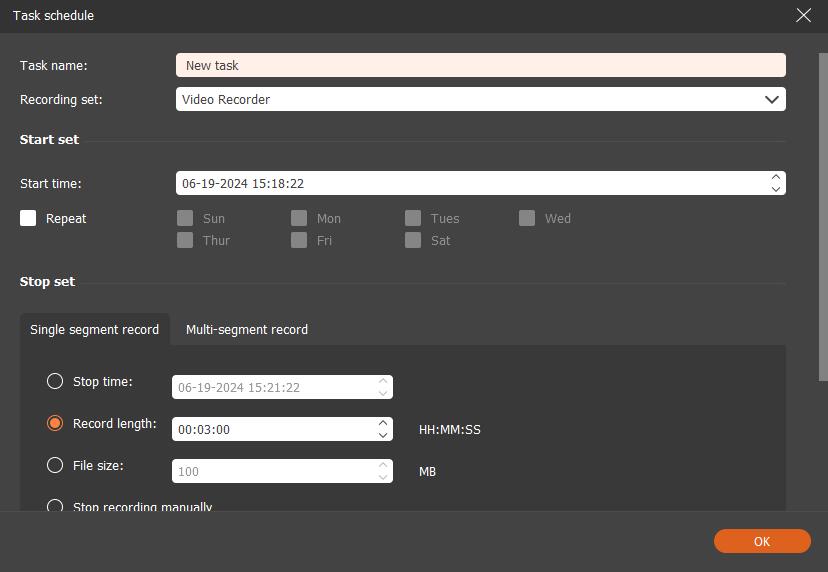
Another useful feature called Task Schedule allows you to record whatever you want on your desired time and date, and you can even choose the Repeat feature to do it from time to time without doing it yourself.

What’s more, you can simply choose the Watermark feature to add your text or picture watermark on your recording without complicated operations.
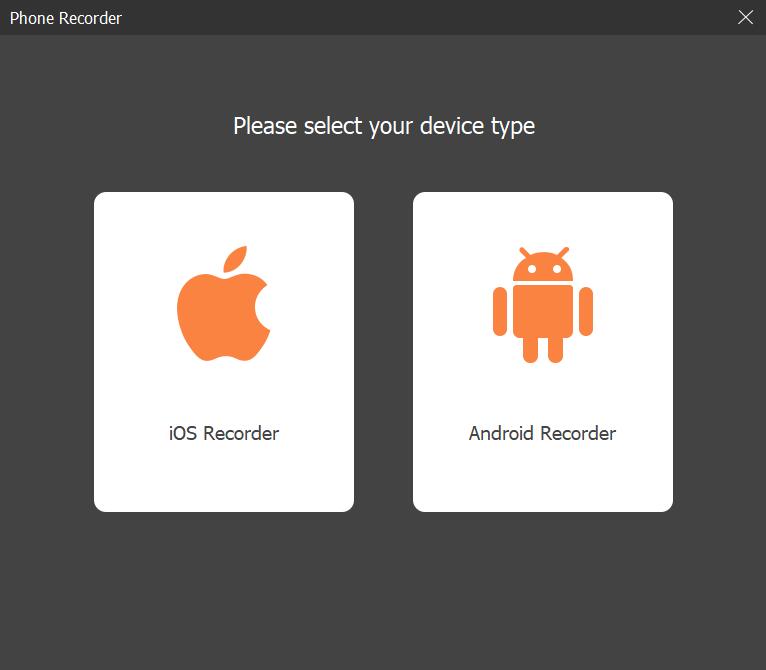
Aside from the computer, you can even use it to record screens on both iOS and Android devices. You just need to follow the on-screen instructions to connect your devices and begin recording within a few clicks.

Below is a demonstration of recording a computer screen with FoneLab Screen Recorder.
Step 1Download FoneLab Screen Recorder on your computer, then run it.

Step 2Choose the recording mode on the left side and enable your desired features. Click the REC button to begin recording. It will begin to count down and then record your screen automatically.
Step 3Click the stop button or press the ESC button on your keyboard to stop recording.
As you can see, its procedure is really simple and user-friendly. The FoneLab Screen Recorder will always be your best choice for recording on a computer or mobile device.
FoneLab Screen Recorder allows you to capture video, audio, online tutorial, etc on Windows/Mac, and you can easily customize size, edit the video or audio, and more.
- Record video, audio, webcam and take screenshots on Windows/Mac.
- Preview data before saving.
- It is safe and easy to use.
Option 2. Online Screen Recorder
Some people dislike downloading and installing computer programs and want to solve their problems online. Thus, you can surely find something on Google. But how do you find the right one from the countless results?
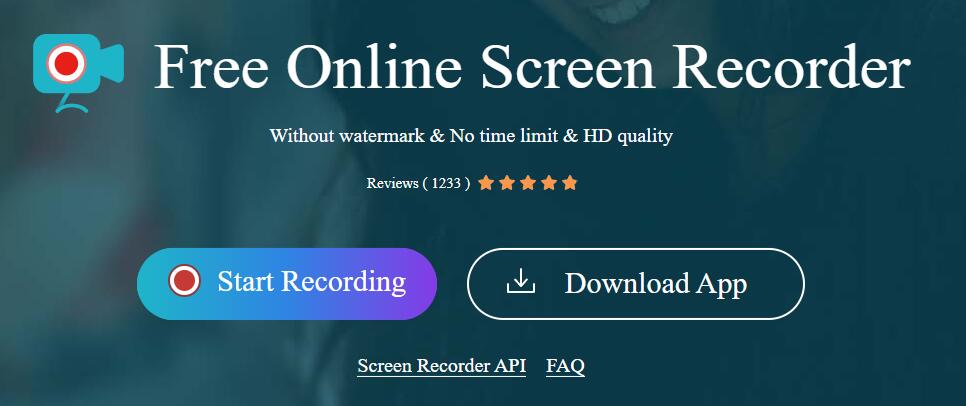
Here, we recommend the Apower Free Online Screen Recorder. You can try it on both Mac or Windows, and you can record the screen on a computer without watermark limitations.
Step 1Search for the Apower online screen recorder on Google and visit its official site. Then go ahead and click the Start Recording button when you see it.

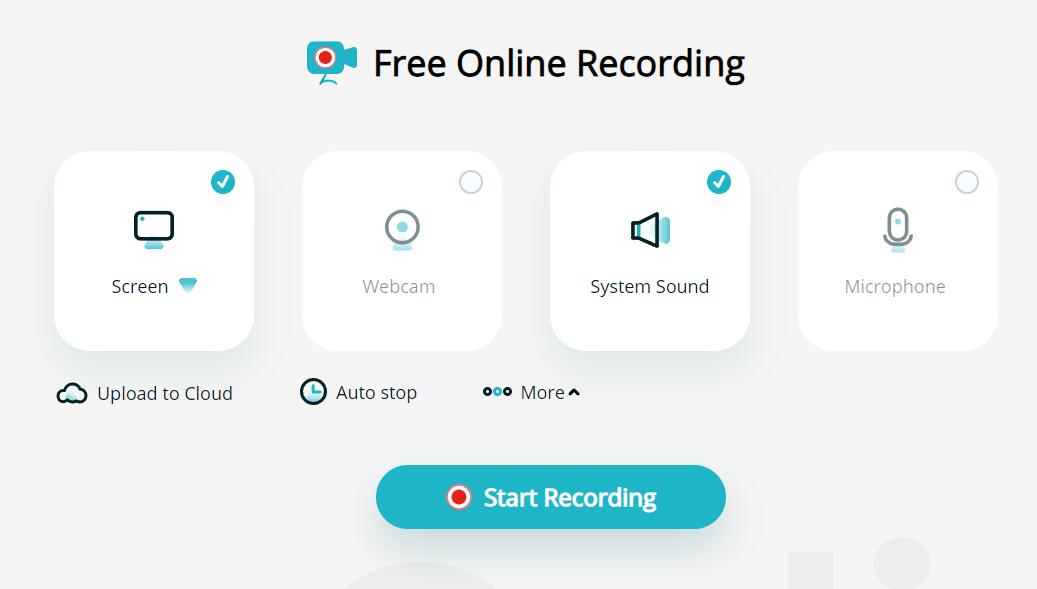
Step 2Check the features based on your needs, and click the Start Recording button.

You can choose to download its computer versions to run it on your computer, but the online version will be much better as it won’t require you to install anything on your device.
Part 4. FAQs About Windows Game Bar
1. Can you turn off Windows Game Bar?
Yes, you can simply press the Windows logo and G keys to turn it off.
2. Can I uninstall Microsoft Game Bar?
No, you can not uninstall Microsoft Game Bar. It is a built-in feature on your device.
3. Is Windows Game Bar free?
Yes, Windows Game Bar is free to use on your Windows computer.
FoneLab Screen Recorder allows you to capture video, audio, online tutorial, etc on Windows/Mac, and you can easily customize size, edit the video or audio, and more.
- Record video, audio, webcam and take screenshots on Windows/Mac.
- Preview data before saving.
- It is safe and easy to use.
That's all about Windows Game Bar and how to use it to record screens on the computer. And you should try FoneLab Screen Recorder if you want to record the screen on a computer or mobile device. Its awesome features will surely make you happy!
